Showing posts with label nursery. Show all posts

Sunday, August 4, 2013

Nursery Dresser

Funny how things work out.....I thought this weekend I was going to be too busy to work on Minis but I managed to get a few projects completed that were started previously.  This is one of them.  I actually started this last week, but finished it up today.  I'm very pleased with the outcome and it turned out better than I had hoped.  If you are a regular follower, you would have seen a post about a dresser that I was painting, but the stain kept bleeding through, making the dresser pink.  I decided to use that item for another project, and had to start from scratch making a new dresser for the nursery.

I decided to do a little hutch bashing.......so I started with this Michael's hutch.


 I removed the upper part of the hutch, the shelves and doors.  It didn't come off very cleanly though and became a much harder job. 


 I had to remove the piece that didn't come off with the top.  It was glued on there pretty good.  It took me a lot of cutting and prying. 


When I did get it all off......it left the top of the dresser pretty marked up.  I tried to sand it and nothing really worked.  I decided to keep it that way and when it's in the scene, I will cover it and it won't be noticeable.


 So, it doesn't look much like a dresser at this point, so I removed the doors on the bottom.  Then realized that the foot is broken, and I had to glue that.


From this point, I had to cut some wood big enough to cover the opening, and then make some "drawers".  I didn't take pics of this process......it's just better seeing the final product.

I found these incredible little jewelry findings that looked exactly like drawer pulls to me.  So with those, and some head pins (cut short), I made some pulls for the drawers.


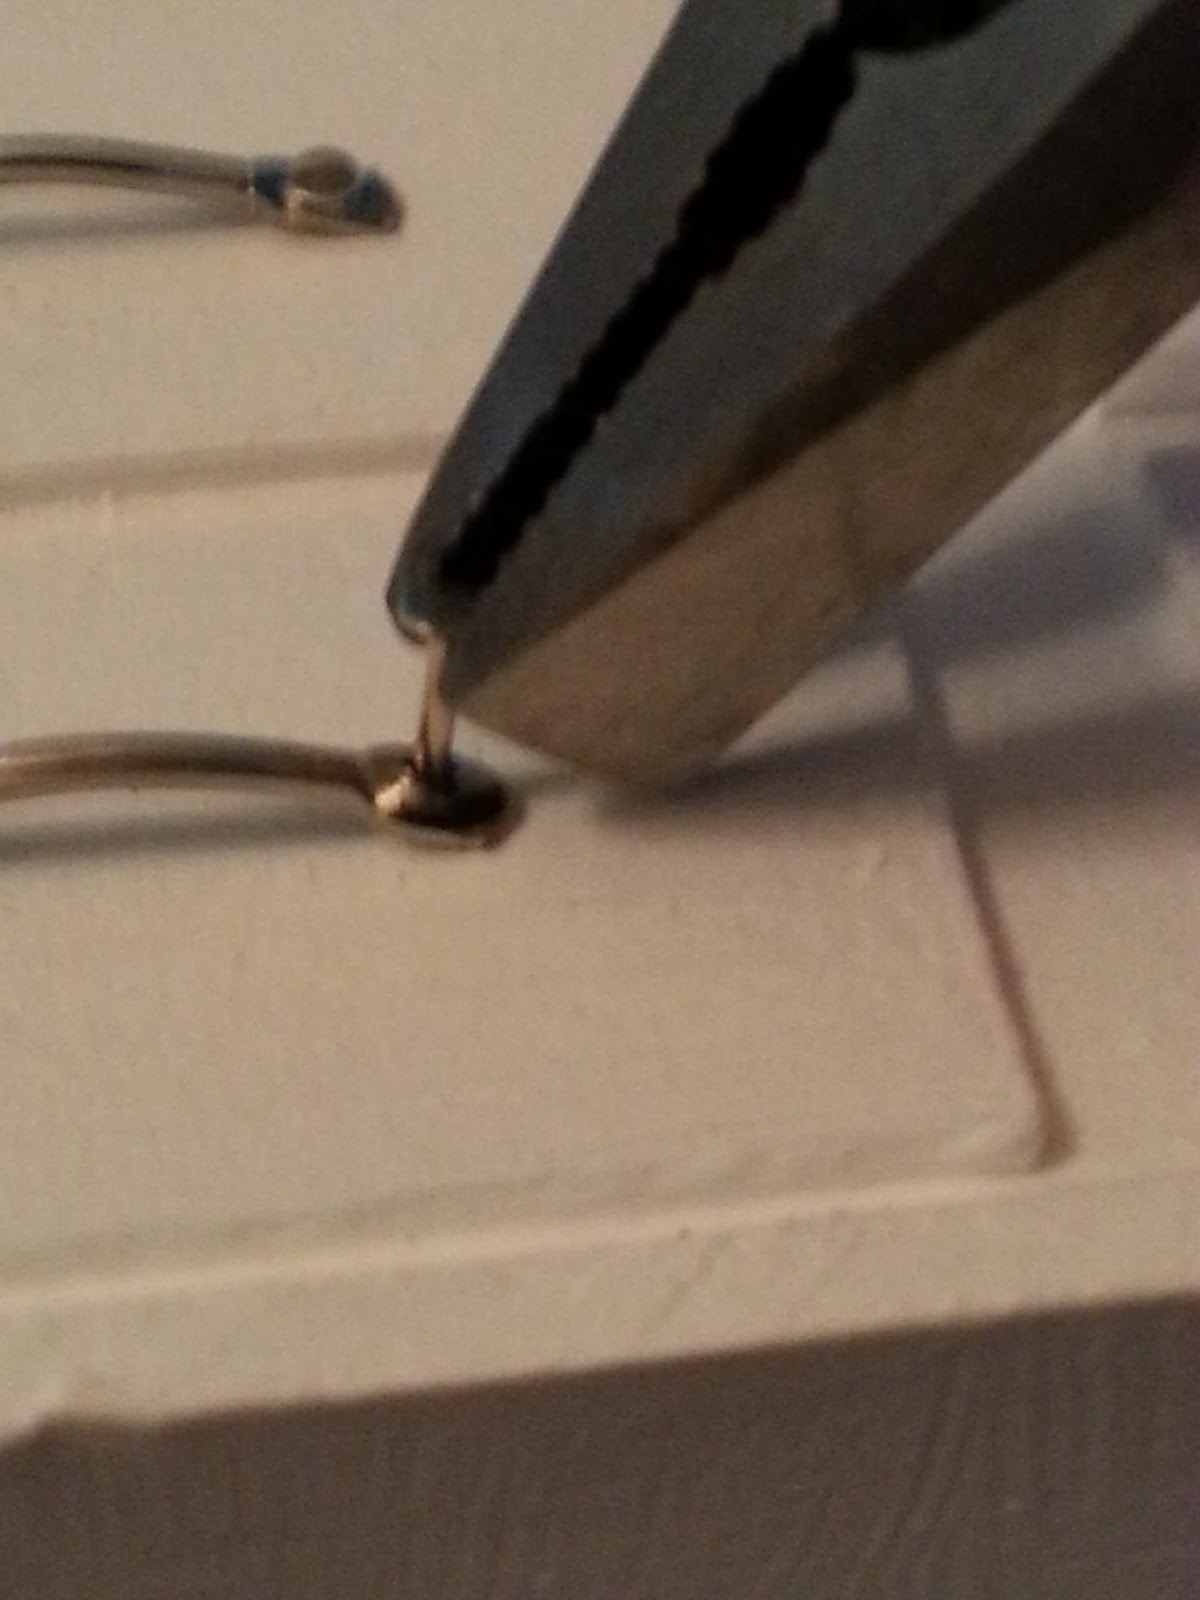
Using my pliers, I was able to attach the pulls to the drawers with no problem.  Didn't even have to use glue, it's in there pretty tight.


That was the last step........and here it is, all finished.  Doesn't it look fantastic?  You can hardly tell it was Michaels hutch.

Sunday, July 28, 2013

Mini pic of the day - July 28, 2013

So todays mini pic is a problem I've encountered.  I had purchased some dollhouse furniture from Dollarama quite a while back.  They are stained a red-ish colour.  I decided to paint one of them white for the baby nursery.  I painted some of it but left the bottom the original finish so I could stand it up to dry.  I'm glad I did otherwise this post would not exist. So, I painted it, and then had to go out.  I came home to a bubble gum pink dresser.  Oh no.....baby mini is a boy not a girl.  So if anyone has a suggestion on fixing this I'd appreciate your help.  I don't know if just painting more white will help.  This was just a first coat.  Thanks.

Thursday, July 25, 2013

Nursery Changing Table

So....as you know (if you've been reading my blog) I have the Vermont Farmhouse Jr.  I purchased it in 2006 and seven years later, it's still a work in progress.  This was my first miniature purchase, and the building of the house was fast and looks wonderful.  It's just the inside that I have been struggling with.

Earlier this year I electrified it, and I have slowly been trying to get it decorated.  It should not have taken me this long to get this far....which really isn't that far at all.

A while ago I started to work on the nursery in the house, and wanted to make a changing table.  I didn't feel like building it from scratch, so I bashed a Michaels hutch.  Long before I got my new supply of hutches in waiting.

So because I started this project a while back, some steps are missing as far as pictures go, but I will explain those steps.

This is the hutch that I started with.  The first thing that I did was remove the whole upper part of the hutch.  This usually can happen quite easily if you put pressure on both ends like you want to snap it in half.  However, if that scares you, you can always take a saw to it, and saw the top half off.


This is where I didn't take a picture of the hutch with the top off.....so bear with me.  I used some thin stripwood and cut to size and glued it along the back of the table and sides (see pic).  I also removed the two outer doors because I want to be able to see the shelves, but I kept the middle door.  Then I painted the whole thing white.


Next step was to put a changing pad on the table.  So I cut a piece of thin cardboard from a Cola case to fit in the opening on the top of the table. 


Next I cut a piece of felt to put on top of the cardboard to give it a softer look.


I trust that so far these instructions are pretty easy to follow.....So now I just dry fit the cardboard and the felt on the actual table to make sure it's a good size.  Dry fitting is so important.


Looking good so far.  Now I picked out my fabric that goes with the nursery theme and I cut it a little larger than the cardboard, about a 1/4 inch around.


I glued the felt onto the cardboard and then I snipped the corners of the fabric to make it easier to glue around.  And lay the cardboard, felt side down on the "wrong" side of the fabric.


Now it's the scary part....gluing the fabric in place.  I like to use Aleene's Quick Dry Tacky Glue.  It's my favourite as it doesn't take hours to dry.  I can't get enough of it.  Anyway back to the fabric!  Put a small line of glue on the edge of the cardboard and turn the fabric over, press into place and then what I do is use clips to hold it in place to dry.  It shouldn't take very long to dry, and then you can do the same for the other sides.


Once it's dry, I glued it into place on the table and voila......a super duper easy peasy nursery change table. 


I hope you liked this post.....and I can't wait to fill it with tons of goodies.  Oh and if you haven't guessed yet.....IT'S A BOY!
Related Posts Plugin for WordPress, Blogger...