Funny how things work out.....I thought this weekend I was going to be too busy to work on Minis but I managed to get a few projects completed that were started previously. This is one of them. I actually started this last week, but finished it up today. I'm very pleased with the outcome and it turned out better than I had hoped. If you are a regular follower, you would have seen a post about a dresser that I was painting, but the stain kept bleeding through, making the dresser pink. I decided to use that item for another project, and had to start from scratch making a new dresser for the nursery.
I decided to do a little hutch bashing.......so I started with this Michael's hutch.
I removed the upper part of the hutch, the shelves and doors. It didn't come off very cleanly though and became a much harder job.
I had to remove the piece that didn't come off with the top. It was glued on there pretty good. It took me a lot of cutting and prying.

When I did get it all off......it left the top of the dresser pretty marked up. I tried to sand it and nothing really worked. I decided to keep it that way and when it's in the scene, I will cover it and it won't be noticeable.
So, it doesn't look much like a dresser at this point, so I removed the doors on the bottom. Then realized that the foot is broken, and I had to glue that.
From this point, I had to cut some wood big enough to cover the opening, and then make some "drawers". I didn't take pics of this process......it's just better seeing the final product.
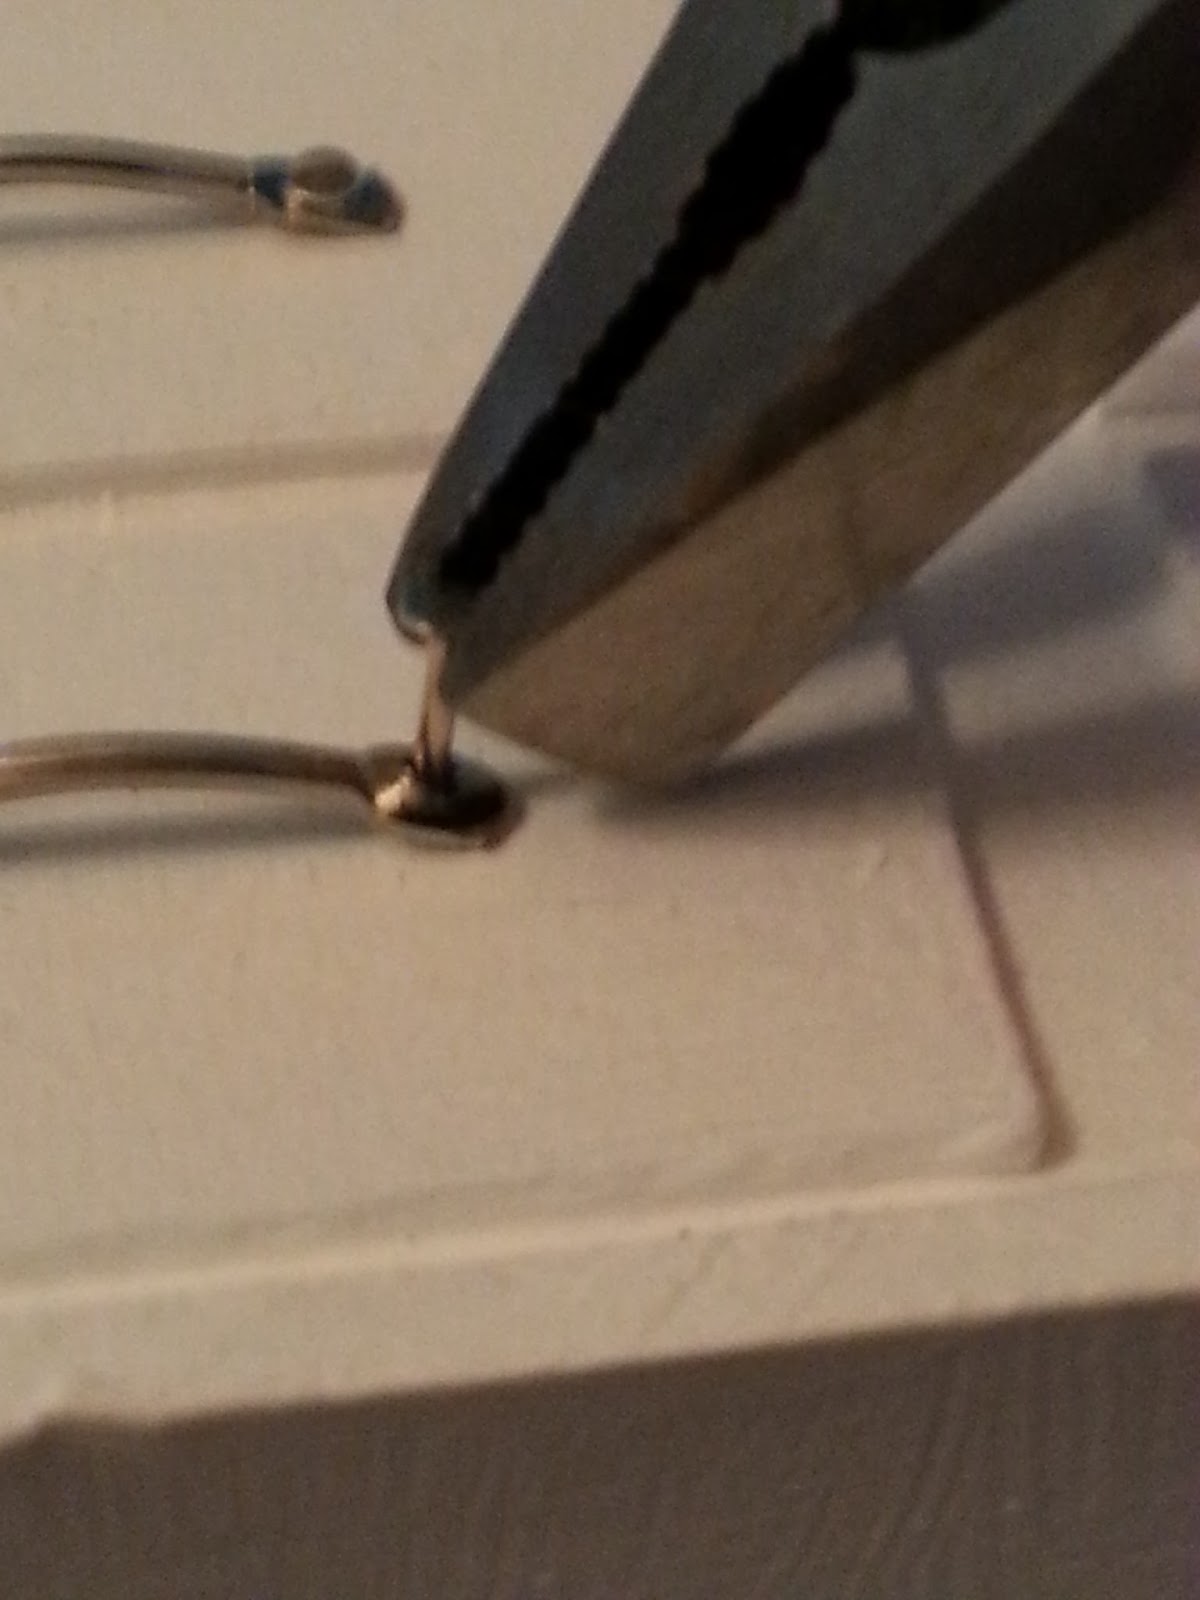
I found these incredible little jewelry findings that looked exactly like drawer pulls to me. So with those, and some head pins (cut short), I made some pulls for the drawers.
Using my pliers, I was able to attach the pulls to the drawers with no problem. Didn't even have to use glue, it's in there pretty tight.
That was the last step........and here it is, all finished. Doesn't it look fantastic? You can hardly tell it was Michaels hutch.


The dresser looks great. A tip I learned from another blogger about taking Michael's hutches apart is to put them in the microwave for a few seconds to warm the glue. They come apart much more easily. A heat gun also works.
ReplyDeleteDe.....thanks for the tip. I would never have thought to do that. I bet it would have made this project a lot easier.
DeleteJust be sure to stay right there and really only give it a few seconds. It doesn't take much time to start it burning - don't ask how I know that! ;-)
Deletegreat idea!!!
ReplyDeleteto bash a hutch to remove parts put it in the microwave for 10- 15 second and be carful use potholders it's hot and then pry off whatever part you want..works like a charm!
ReplyDeleteI never knew this before.....thanks
Delete